
Introduction
Upcloud is a Finnish Cloud provider that focuses on high-quality services. There is no built-in support for installing RHEL on Upcloud, which is quite typical of "small Clouds". Sometimes you don't want to use clones (e.g. Rocky Linux) and need real RHEL instead. This is where this article comes handy, as the RHEL installation process in Upcloud is far from trivial. This article focuses on RHEL 9, but the process may work with older and newer versions as well. The process I describe here applies almost 1:1 to any Linux operating system Upcloud does not natively support.
Upload the RHEL installer ISO to Upcloud
As the first step you need to get the RHEL installer ISO image uploaded to a webserver. A simple option might be to create an AWS S3 bucket and put it there. Or if you have a webserver just put the ISO file there. The ISO file must be publicly accessible by anyone.
You can use either the "boot" ISO or "DVD" ISO. If you choose "boot" ISO then you need to login the Red Hat network and register the system before you start the installation. With the "DVD" ISO you can do the full install without registering the system with Red Hat.
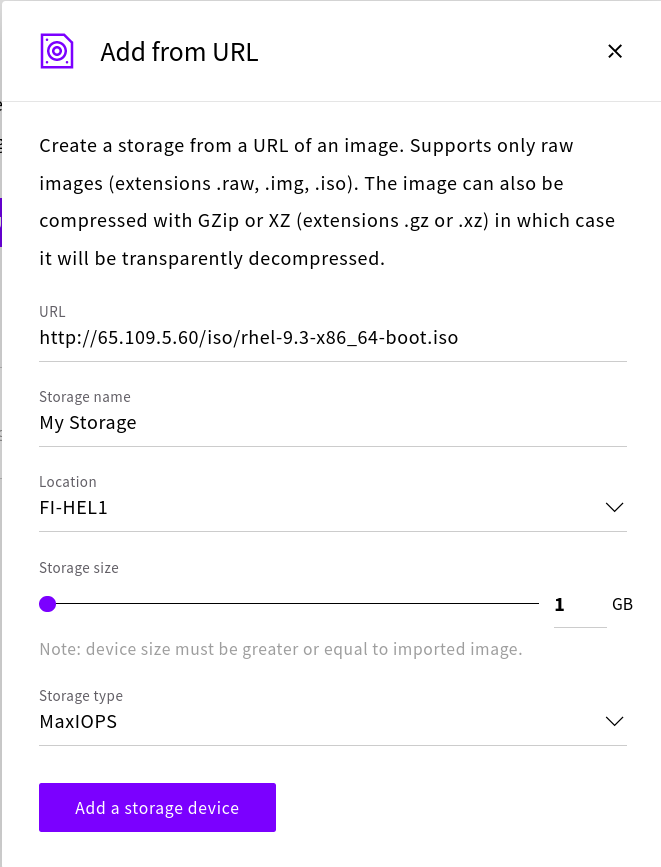
Once the ISO is available go to Upcloud console -> Storage -> Devices -> Add storage from URL:
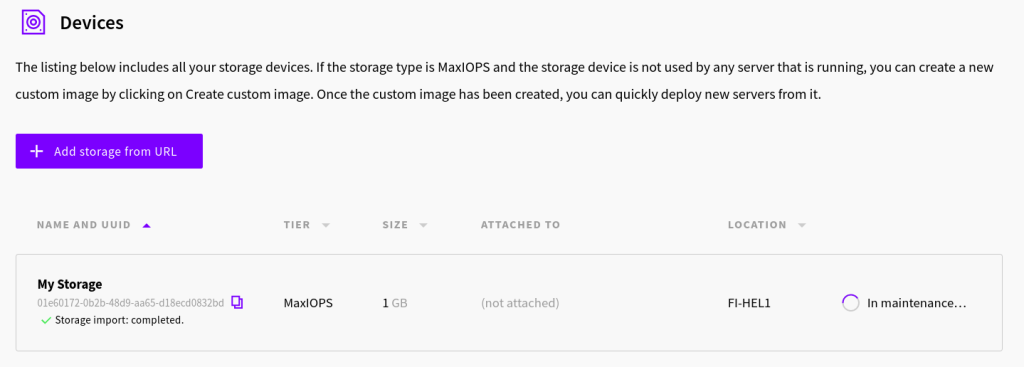
After a while you should see the new ISO image in devices:
Create a Rocky Linux VM
You read right: you need to create a Rocky Linux VM first. The RHEL installer will overwrite its disk later, but we need a system we can boot first:

Launch install of RHEL on Upcloud
To launch RHEL install on Upcloud follow this procedure:
- Shut down the Rocky Linux VM
- Attach the RHELL installer ISO image to the Rocky Linux VM
- Under "optionals" in the Rocky Linux VM set "cdrom" as the first boot device
- Start the Rocky Linux VM
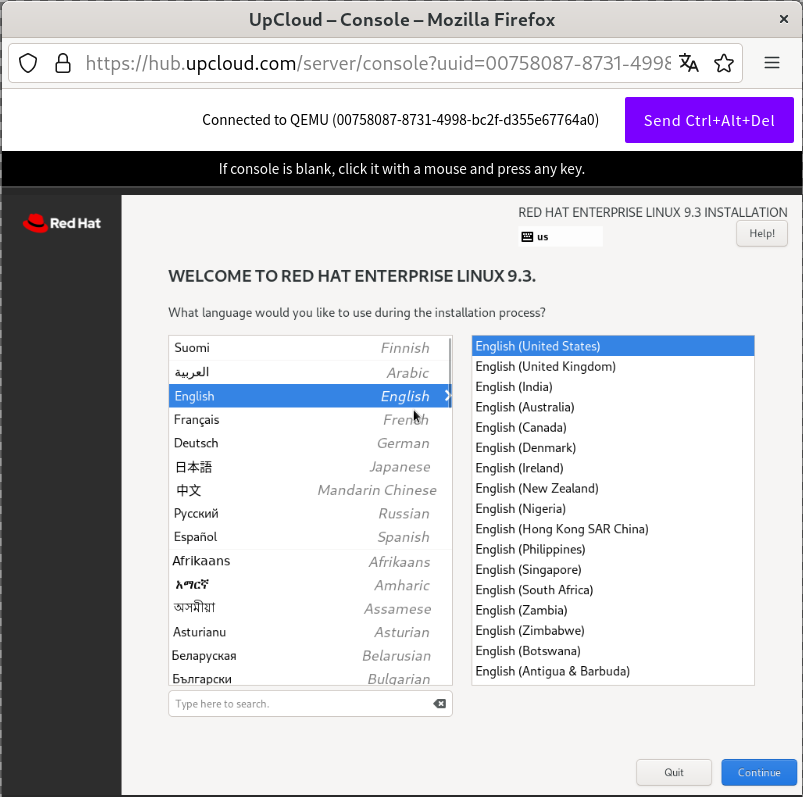
You should be greeted by the RHEL installer:
RHEL installation on Upcloud
The most important hint is to use standard partitions instead of LVM. If you fail to do this, any snapshots and backups you create from your RHEL VM will not work. As it stands now (early/mid 2024) Upcloud's VM snapshot/backup automation cannot handle LVM at all, at least in the case of RHEL.
The installation procedure is fairly standard, but here's some basic advise:
- Set the system hostname: if you don't, volume group and logical volume names will look horrible
- Login to Red Hat (if you are using the boot ISO)
- If you want a headless server (no graphic user interface) then select "Server" (without GUI) and then "Headless server" in software selection.
- Wipe the existing Rocky Linux partition table
- Create "biosboot" partition (size 2MB) as /dev/vda1
- Create swap partition (e.g. 2GB) with label "swap" as /dev/vda2
- Create root ("/") partition with label "root" as /dev/vda3, making it as big as possible
- Create a temporary admin user and make sure its password does not have any special characters: Upcloud Console does not handle special characters well.
Boot into RHEL
To boot into RHEL after installation finished do the following:
- Shut the RHEL VM (which used to be Rocky Linux VM)
- Under "Optionals" of the VM set first (and only) boot device to "storage"
- Start the RHEL VM
As you can see, installing RHEL on Upcloud is not difficult once you know the pitfalls. Even if you follow this procedure to the letter I urge you to test if snapshots and backups work as you'd expect. You really want to avoid creating a snowflake system you can't restore trivially when you need to.